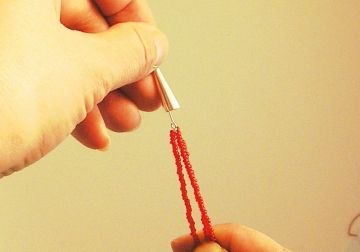
How to Use Bead Cones
Bead cones are great for finishing multi-strand jewelry designs. Plus, they really add a finished look to any necklace, giving more of a custom, handmade designer's look that your clients will love.
What you will need:
-
Eye Pins
-
Bead Cones
-
Beads for Design and Stringing Material
-
Choice of Clasp
Step 1
Make sure your eye pin is long enough to go all the way through the bead cone and some sticking out the other end for attaching a clasp. TIP: You can make your own eye pin with a length of wire--just create a basic loop at one end! First, string your beads as desired and attach them to a soldered jump ring or directly to the bottom of the loop on an eye pin. Thread the eye pin up through the bead cone and pull the strings of beads into the cone.
Step 2
Thread the end of the eye pin through the bottom of the bead cap, and pull the bead strands up into the cone:

Step 3
Use your flat nose and round nose pliers to create a basic wire loop on the tail of wire at the end of the bead cone. For steps on how to create a basic loop, click here. Attach your clasp to the end, and that's it! Complete the same technique on the other end.
| 
