Bead Stringing and Knotting How-ToBead stringing is usually done for strands of pearls or other fine beads. Each individual bead is knotted into place along the thread. This looks nice and prevents beads from falling off if the thread should break. TIP - For design ideas, use a thread color that either matches or contrasts with your beads. This will be especially interesting if your beads are clear as you will be able to see the colored thread through the bead. Learn the basics of bead stringing below, just follow my step-by-step instructions.
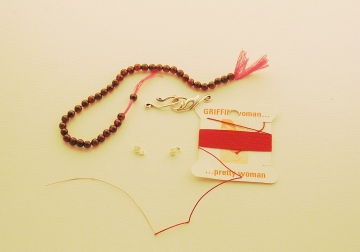
Gather supplies - What you will need for bead stringing:
Step 1Select your thread, beads, and clasp. Select a thread that will pass through the diameter of your bead holes. I usually buy colored silk thread on cards that already come with a beading needle attached. But, use whatever strong beading thread you like, and if it doesn't come with a needle, use thread conditioner like beeswax to make it easy to work with and pass through your bead holes. I have gathered dark red beading silk (with needle attached), garnet beads, two clamshell bead tips and a decorative hook clasp:
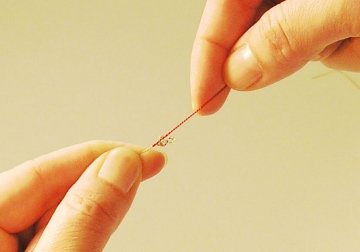
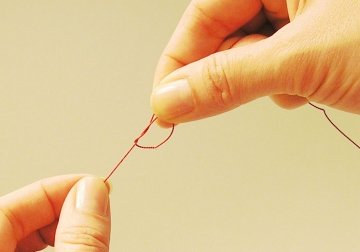
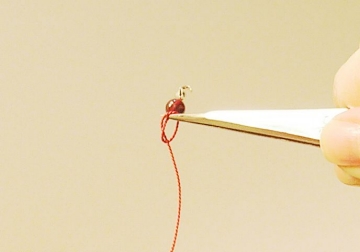
Step 2You have the option of attaching clamshell tips either before or after stringing all your other beads. If you plan to attach the tips before (like I will do in this example), make sure you lay your design out on a bead board or with a ruler first to make sure you will have the right number of beads for the desired length. Check the length throughout (the knots will add some length) to make sure you are on track before attaching the final clamshell bead tip and clasp. String the bead thread through the clamshell tip. Make a surgeon's knot in the end of the thread. A surgeon's knot starts with a regular overhand knot, but pass it through the loop twice, then for the second part of the knot, make a regular overhand knot and pull it tight. Place a drop of glue on the knot for added security, and pull the thread so the clamshell tip is held into place. The knot will hold the thread and attach it to the clamshell tip. TIP: If your bead thread is too fine and a single knot is too small and will slip through the hole in the bottom of the clamshell bead tip, then first knot your thread around a tiny bead (like a seed bead) that is small enough to be covered by the clamshell once it has been closed. Bead thread is passed through hold in bottom of clamshell tip:
I begin to make a knot in end of thread:
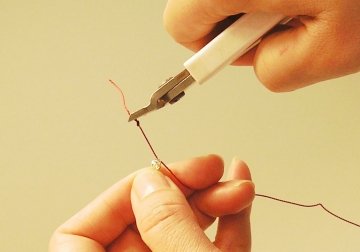
Cut off tail of thread close to knot:
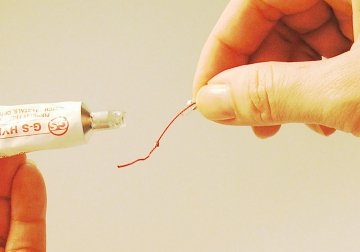
Place a drop of jewelry cement on the knot for added security:
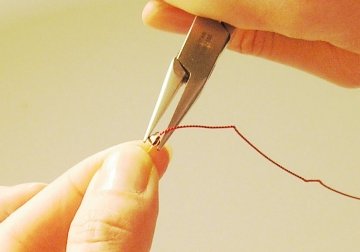
Step 3Use your flat nose (chain nose) pliers to squeeze the sides of the clamshell beadtip closed around your knot. String your first bead. Pull knotted thread into beadtip, and using chain nose pliers, press the clamshell closed onto the knot:
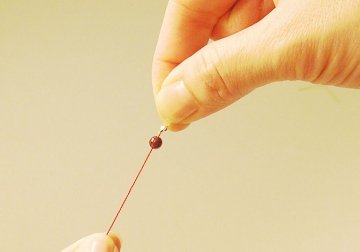
Slide first bead onto thread, up to the bead tip. Note: If you are planning to attach bead tips last, then leave several inches of thread at the end so you will have something to work with when you are ready to attach the tips.
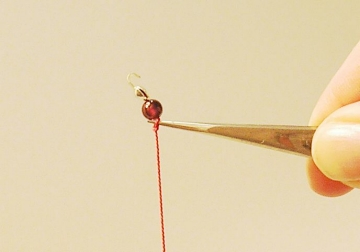
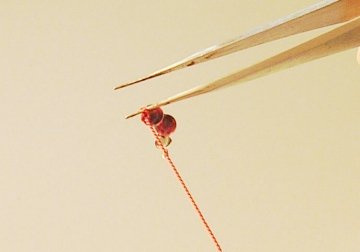
Step 4Make a regular overhand knot in your thread, as close to the bead as possible. Make sure the loop is loose enough that you can fit your tweezer points or an awl into the knot opening. Continue holding tweezers up to the bead, pull gently on the thread while sliding the knot as close as possible to the bead, removing the tweezers only at the last moment as you draw the knot tight. Making a knot, holding it close to bead using tweezers:
Holding tweezers and knot into place until it is tight:
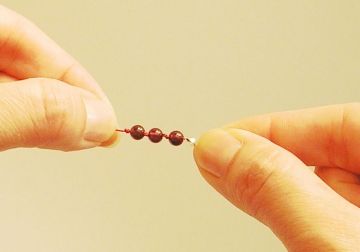
Step 5Add the next bead, and repeat the same process to make a knot up close against the bead. Repeat until you have strung and knotted all your beads into place. Check your length using a ruler or bead board to make sure before you attach the clamshell tip on the other end!
Stringing and knotting until all beads have been strung:
At final end, string bead through the bottom of clamshell tip, and tie a knot. Add some cement for security:
Squeeze the clamshell closed around the knot:
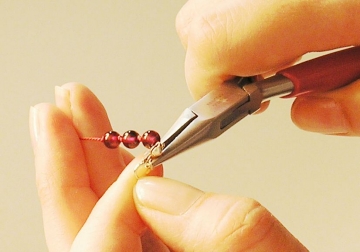
Step 6Attach clasps through the loops on the end of clamshell bead tips. You can also use a jump ring if you prefer. Use your flat nose pliers to gently squeeze the loop closed, so that it is attached to your clasp or to your jump ring. Attaching the loop on the clamshell bead tip to my choice of clasp:
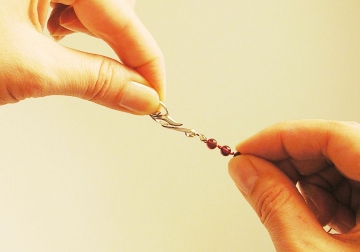
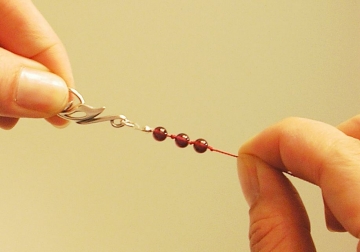
Example of attached clasp and strung and knotted beads:
Need More Help Stringing Beads?Need more help learning to string beads? I recommend this book: Also, here is another set of How To Knot Instructions from ArtBeads.com. |
Home How To Make Jewelry Jewelry Basics Jewelry Projects Designer's Gallery Jewelry Supply Jewelry Business Jewelry Books and More Contact Me Privacy Statement Copyright 2006 Smart Sisterz LLC |
Hot off the presses! - Start Your Own Home Jewelry Party Business Today!
Join our Newsletter for more free jewelry design projects and tips each month!
