How to Wire Wrap a Briolette or Top-Drilled BeadLet's learn how to wire wrap a bead that is drilled through the top, such as a briolette. Wire-wrapped top-drilled beads, or briolette shaped beads, make a wonderful drop or dangle from a bracelet or necklace chain. They also make quick gorgeous earrings--just take a pair of briolette beads, follow the instructions below, then top with a crystal or other small decorative bead and attach to earring findings with a top loop. What you will need:
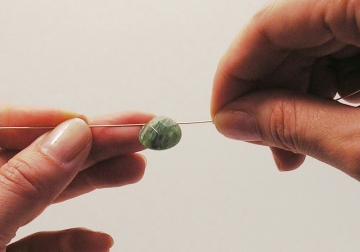
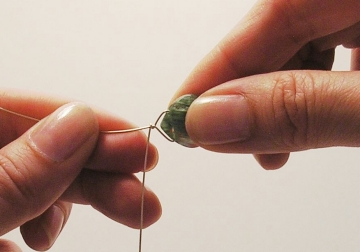
Step 1Select your wire in a diameter that will fit easily through your bead hole. Step 2Cut about several inches of wire (5-6 inches should work). Thread your wire through the bead hole and center it along the wire. Fold the wire up on both sides and center it evenly over the top center of the bead. Thread the bead onto your piece of wire and center it:
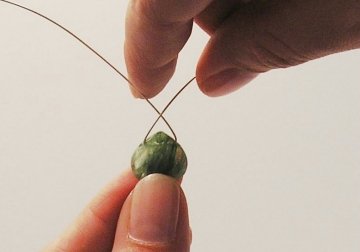
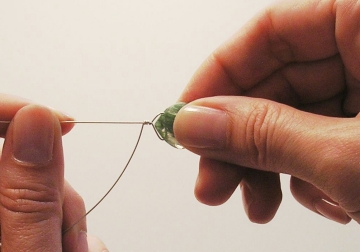
Bend the wire evenly and centered over the bead:
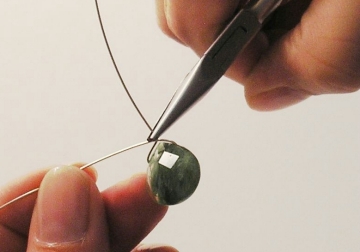
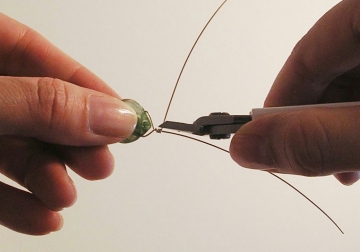
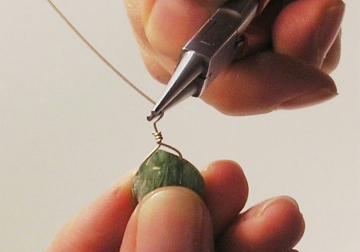
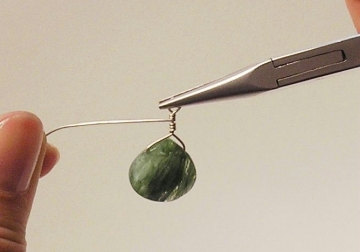
Step 3Use your flat nose pliers to bend one wire end at an angle so the wire points straight up over the top of your bead. This will become the "stem" that you wrap the wire around. Decide how much space you want between the bead and the top loop. This is purely a matter of visual preference. Make a right angle bend in the one wire so it sticks up above the bead:
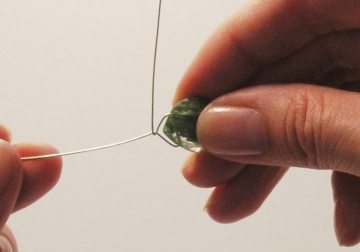
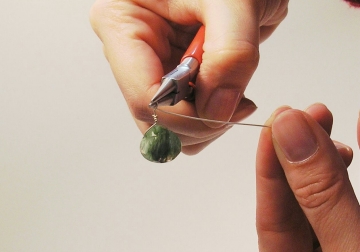
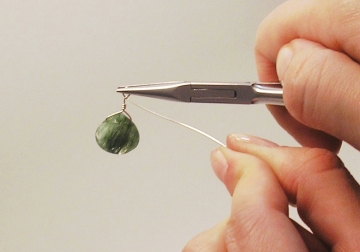
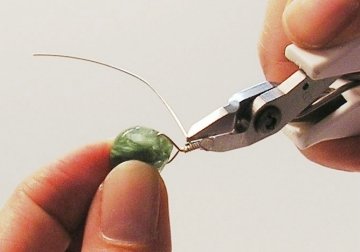
Step 4Take the remaining wire and begin twisting it around the stem you created in the prior step. Hold the wire smooth and flat so it wraps nice and tightly. Wrap as many loops as you desire in your design, to go half-way up the stem. Cut the tail off the piece you have been using to wrap around the stem using flush cutters. You will continue working with the stem piece of wire. Hold the stem wire in one hand, and begin tightly wrapping the other wire around the stem:
Keep wrapping for as many loops as you want in your design:
When you have reached the half-way point on your stem, cut the wrapping wire flush with your flush cutters:
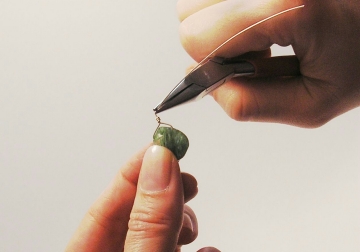
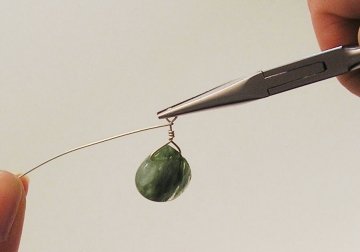
Step 5Use your flat and your round nose pliers to create a round loop at the top. To attach this briolette to another component or earring, slide the component on at the round loop before beginning to wrap it back down around the stem, so that it will be attached. Bend a right angle in the wire to prepare for making a loop:
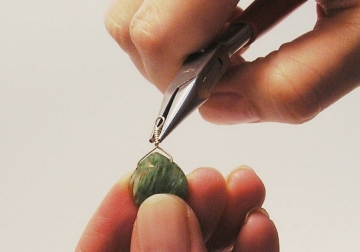
Grasp the wire with round nose pliers about 1/4 inch from the bend and begin to create the loop:
Complete the round loop and prepare to begin wrapping wire around the stem. At this point, you may want to attach the loop to your component (such as an earring wire):
Start to wrap the wire around the stem:
Continue wrapping:
Step 6Wrap the wire back down towards the bead, making as many wraps as you would like. Clip the wire off with your flush cutters and tuck the sharp end under the bottom loop or press it in tight so it doesn't jut out to catch clothing or to scratch the wearer.
Once you reach the other wire and cannot wrap any further, snip the end off with flush cutters:
Use your flat nose pliers to tuck in the ends so there are no rough edges:
That's it! One wire wrapped briolette is ready for you to attach to a component or continue as part of a beaded chain.
More Wire Wrapping |
Home How To Make Jewelry Jewelry Basics Jewelry Projects Designer's Gallery Jewelry Supply Jewelry Business Jewelry Books and More Contact Me Privacy Statement Copyright 2006 Smart Sisterz LLC |
Hot off the presses! - Start Your Own Home Jewelry Party Business Today!
Join our Newsletter for more free jewelry design projects and tips each month!
