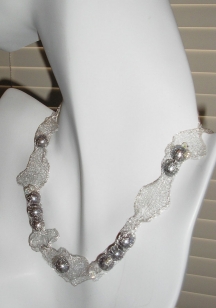
Metal Mesh Necklace
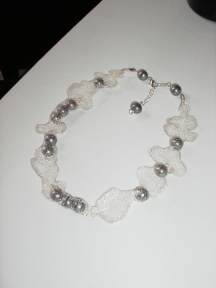
About This DesignTime: Approximately 30 minutes Level of Difficulty: All Levels Cost: Varies, depending on materials selected. Approximately $15-20 as shown. I wanted to try the new metal mesh cord to make a mesh necklace. It's delicate, lacy, fun to work with--and the sky is the limit on your design possibilities. You can slide beads inside the tube, attach them to the outside with wire, or stretch and shape the mesh to meet your design objectives. This necklace features charcoal gray and tiny white seed pearls, along with crystals encased in a random and organic design. Want to learn how to make this necklace, or a variation of it for yourself? Let's get started!
Step 1Gather Supplies Notes: Decide how long you want your handcrafted necklace to be.
Need Supplies? Check my Jewelry Supply pages to find what you need!
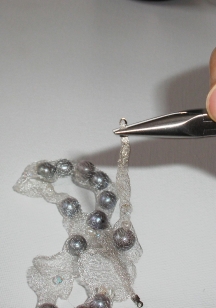
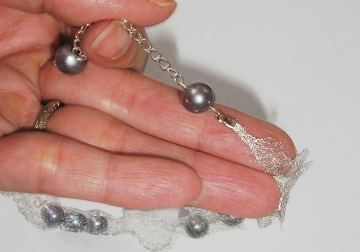
Step 2Thread beads onto or into mesh wire tube This is a design with lots of free reign for how you want the final piece to look. Experiment and see what effect you like. If you like my design, insert all of the beads on the inside of the tube in the order you want them. Stretch and pull the mesh (if desired) to flatten out some sections and hold beads in place in tight sections. If you want to place beads inside of the mesh as I have, you can use the tip of your round nose pliers or a pen cap to gently open and separate the end of the mesh tube. Once the end is separated, very gently work beads into the inside of the mesh tube. This is fairly easy with smooth pearls, but be careful as the mesh is delicate and if you have a scratchy bead (faceted) you might accidentally tear a hole and the beads could fall out (I learned this the hard way). Another option is to attach beads to the outside of the mesh using wire or head pins. Just hook the wire through the mesh and make a wire loop. Carefully attach wire being careful not to tear the mesh. Finally, you can cut the mesh tube open and try shaping it or wrapping it around wire forms.
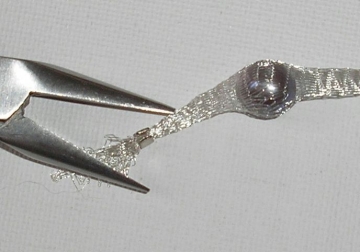
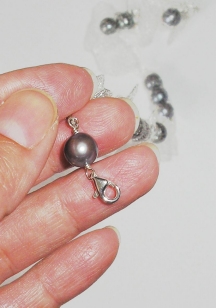
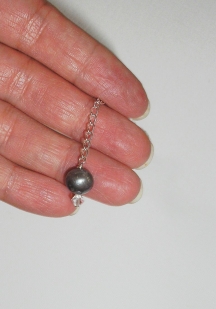
Step 3Attach the clasp Place the ends of the mesh into the tab end and press it down so it is snugly in place. Use the chain nose pliers to fold down the tabs to hold the mesh tightly and securely in place. Follow these instructions to learn this technique. Trim off any excess ends. Option - you can place a drop of glue or cement in prior to closing the tabs, for added security. Use a small length of silver wire, and create a round loop. Attach one end of the loop to the tab end. Slide a pearl or bead onto the stem, then make a round loop on the other side and attach that to the clasp. As an option, you could just attach the tab end to the clasp using a jump ring or split ring. Repeat on the second half of the clasp or extender chain. If you used an extender chain, I always attach one detail bead as a drop on the end of the chain.
That's it. Your great new necklace is ready to wear!
|
Home How To Make Jewelry Jewelry Basics Jewelry Projects Designer's Gallery Jewelry Supply Jewelry Business Jewelry Books and More Contact Me Privacy Statement Copyright 2006 Smart Sisterz LLC |