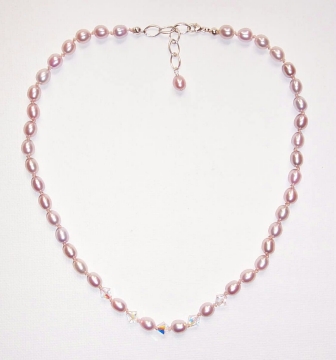
Pearl and Crystal Choker
About This DesignTime: Approximately 1- 2 hours Level of Difficulty: All Levels Cost: Varies, depending on materials selected. Approximately $20-25 as shown. Simple, elegant, and sophisticated pearls are always right for special occasions. This design is perfect for bridal jewelry. Freshwater pearls come in every possible range of colors. Also, Swarovski makes glass pearls and they are a very nice alternative and come in very uniform shapes and sizes. This necklace is hand-knotted on silk thread. TIP - For wedding jewelry, make this necklace in colored pearls for matching the bridesmaids dresses. Match or contrast the silk thread for more interest. Want to learn how to make this necklace, or a variation of it for yourself? Let's get started!
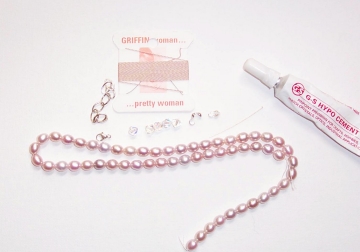
Step 1Gather Supplies Notes: Decide how long you want your handcrafted necklace to be. I went for a shorter choker length, but attached an extender chain so it can be worn up to 16 inches long. If you are making a custom choker as a gift, measure the neck and make the necklace an exact fit, or use an extender chain to ensure a good fit. This is especially important if you are trying to get a certain look to work with the neckline of a wedding gown.
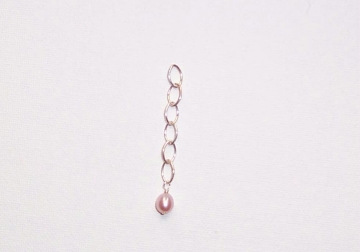
Need Supplies? Check my Jewelry Supply pages to find what you need! Step 2Assemble extender chain Thread a pearl bead onto a headpin. Make a closed wire loop at the top, attaching it to one end of your extender chain. If you need help wire wrapping a loop, just follow these instructions.
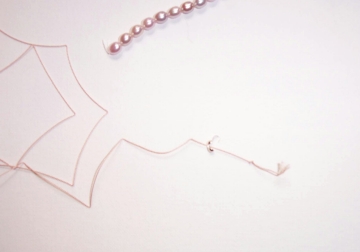
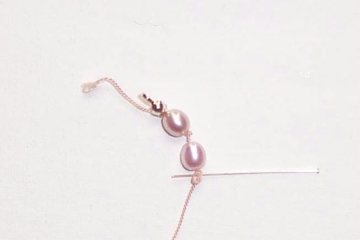
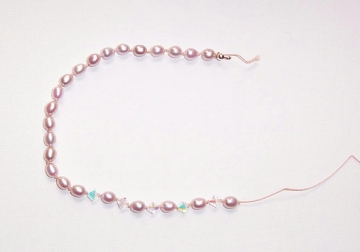
Step 3Thread and knot beads onto cord You will be following my instructions for knotting cord and stringing beads. Start by removing all the cord from the card. Insert the needle through the hole of a clamshell bead tip, and knot one end with a regular overhand knot. Add some glue and cut off the end after it has thoroughly dried. TIP - If you are concerned that the knot is too small and it might pull through the hole, you can always knot a tiny seed bead into place as it will be covered with the clamshell tip once it is closed. Begin by stringing a pearl, and making a knot (be sure to pull the knot tight up against the pearl using either pliers, an awl, or any other pointy tool such as a headpin). Repeat until you reach the center of your design, where you will alternate a crystal, pearl, crystal for all five of your crystals. Use a ruler or a bead design board so you can tell where to start the crystal beads.
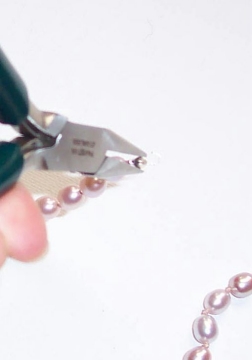
Step 4Attach the clasp and extender chain At the final end, string thread0 through the bottom of clamshell tip, and tie a knot. Use your tool to hold the knot in place while you snug the final bead up close against the clamshell bead tip. Add some cement to the knot for added security. Use your pliers to gently squeeze each clamshell closed around the knots. Use your pliers to gently close the hook on the end to attach your lobster clasp, and extender chain to either end of your choker. Don't just smash the hook end of the clamshell closed, but grasp the tip of the hook with your pliers and smoothly round it over and closed.
That's it. Your great new choker is ready to wear!
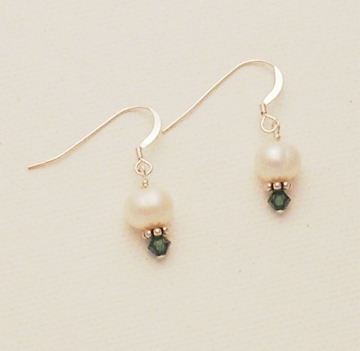
Matching Jewelry SetThis necklace looks great with other pearl and crystal jewelry. Try these additional designs.
|
Home How To Make Jewelry Jewelry Basics Jewelry Projects Designer's Gallery Jewelry Supply Jewelry Business Jewelry Books and More Contact Me Privacy Statement Copyright 2006 Smart Sisterz LLC |