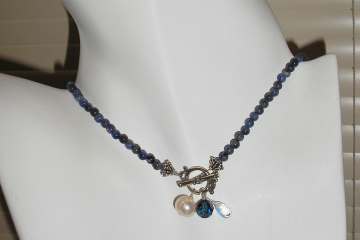
Sodalite Toggle Necklace
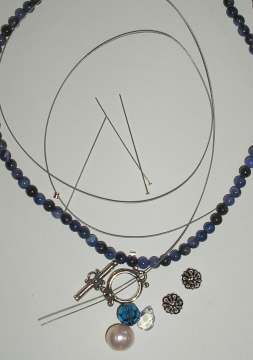
About This DesignTime: Approximately 20-30 minutes Level of Difficulty: All Levels (with Basic Wire Wrapping Knowledge) Cost: Varies, depending on materials selected. Approximately $20 as shown. This is quick to make and very pretty. Vary this design with any beads in any color, and with a nice toggle clasp and some dangly beads to be worn in front. Want to make this necklace, or a variation of it for yourself? Let's get started! Step 1Gather Supplies
Need Supplies? Check my Jewelry Supply pages to find what you need!
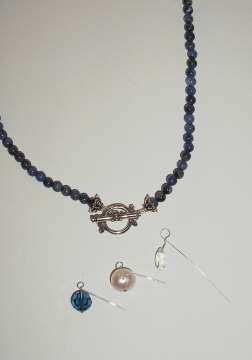
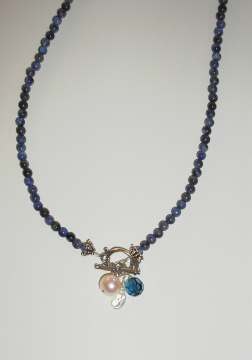
Step 2String the beads Tie a knot on one end of the wire, or place some tape over the end, and string all of your beads onto the wire. Check the length and overall design and make adjustments by adding, removing, or re-positioning beads until you are happy with the look of the necklace. String a beadcap, then the sodalite beads, then another beadcap. You can do this first on a bead design board if you prefer. Make sure you account for the added length of the clasp. TIP - You can start a necklace by attaching the clasp to one end first, However, if you are unclear about your final design or the finished length, it is best to simply tie a knot or place some tape over the end of the jewelry wire, string your beads, and once you are happy with the design and length, attach the clasps to the ends. This way, if you find you need to subtract or add beads you can just remove the tape or knot and work from either end without having to cut off your clasp and start the whole thing over! Step 3Crimp ends and attach the clasp Slide a crimp bead onto the wire, feed the wire through the clasp loop, then back through the crimp bead. Pull the wire snug, and crimp the bead closed. Follow the How to Use Crimp Beads instructions if you are not familiar with this technique. Repeat on other side, making sure you pull the wire tight to beads before crimping. TIP - Because this is a toggle clasp, you will want to leave a little "play" in the wire so the clasp is easy to put on, so leave a little room where the loop of wire attaches to the clasp. Cut off remaining tails of wire with flush cutters. TIP - As an option, try the new crimp bead covers to hide crimps for an even more finished look. Step 4Attach the accent beads to the toggle Slide accent beads onto headpins, and make a closed wire loop, attaching them to the round part of your toggle clasp so they dangle freely. If you need help learning how to do wire loops, follow these step by step instructions.
|
Home How To Make Jewelry Jewelry Basics Jewelry Projects Designer's Gallery Jewelry Supply Jewelry Business Jewelry Books and More Contact Me Privacy Statement Copyright 2006 Smart Sisterz LLC |